HELP INSTRUCTIONS
Access to Admin
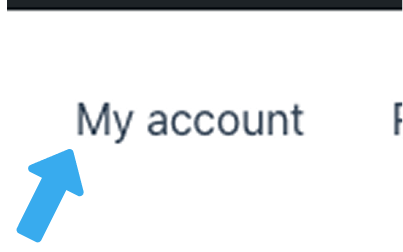
On your website click “My Account” to access the “Dashboard” and you can be able to “Login” or “Logout”
EDIT (Typography, Colors, Buttons)
EDIT (Typography, Colors, Buttons)
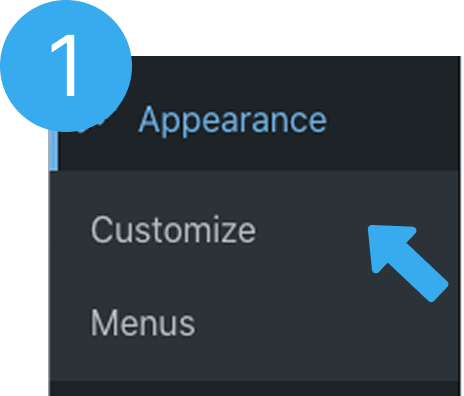
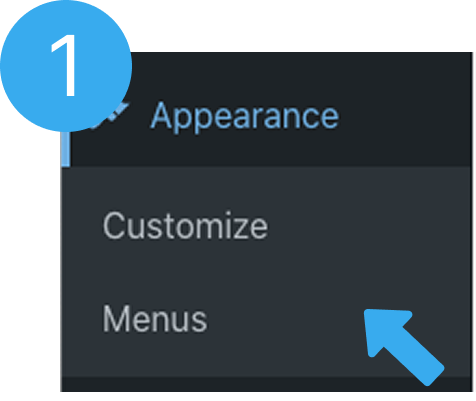
- Go to “Appearance” on the left side bar
- Under “Appearance” you will find sub menu “Customize” and “Menu”
- Click on “Customize”
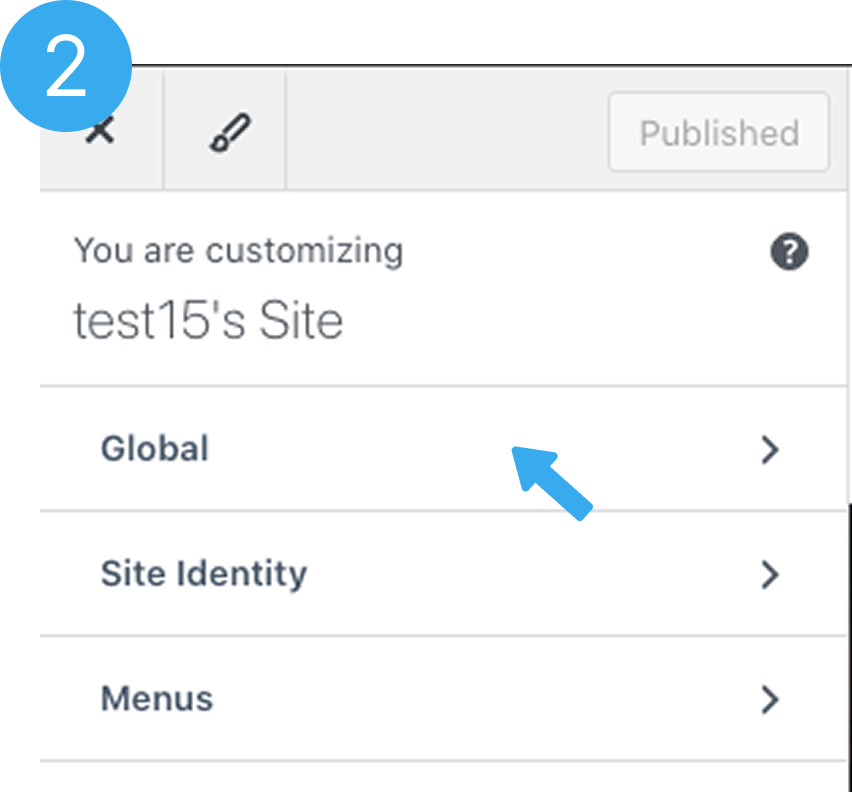
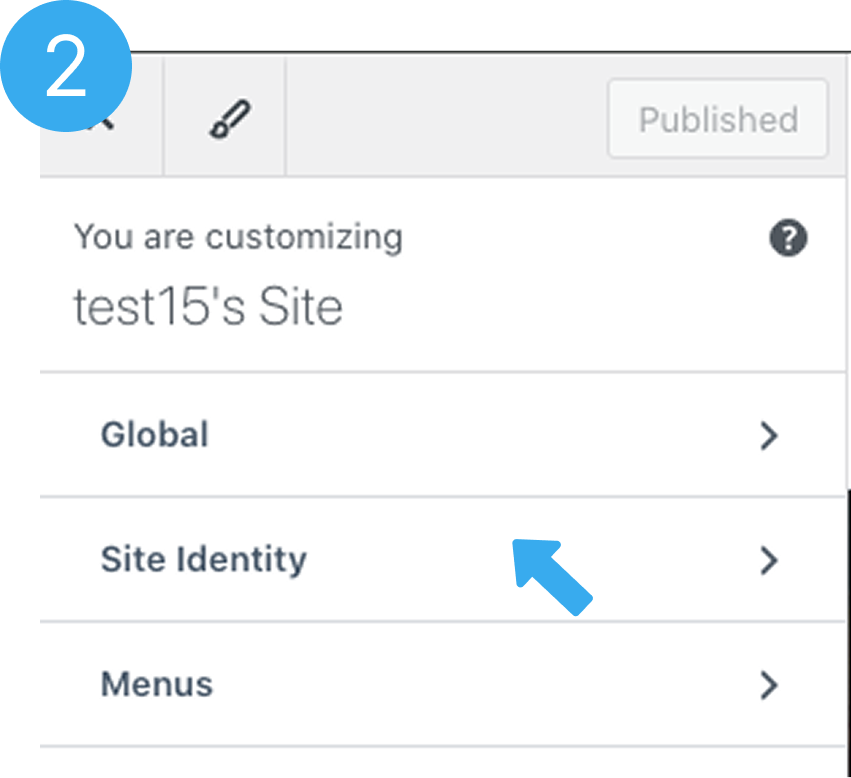
- On the left section, you will find “Global”, “Site Identity”, “Menu”
- Click “Global”
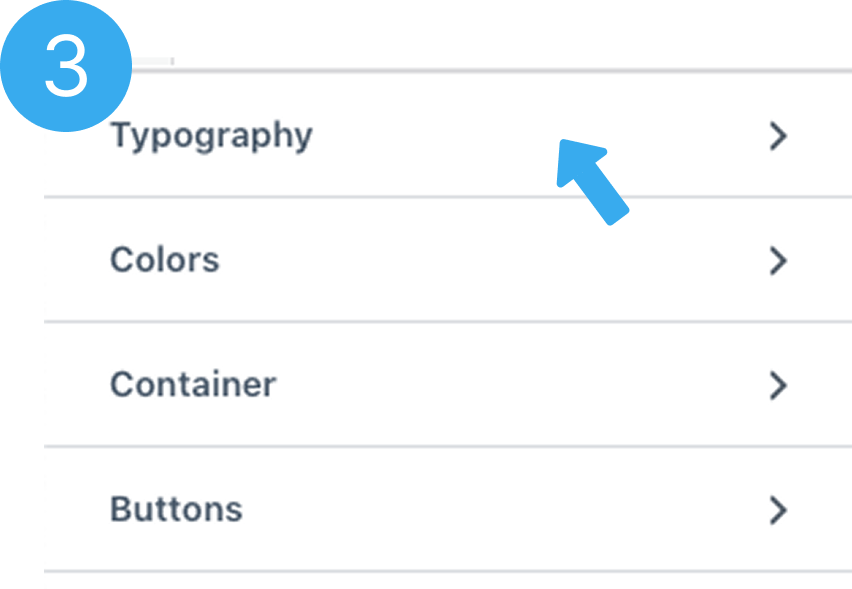
- Click on “Typography”, “Colors” or “Buttons” to edit

Change SIte Logo
- Go to “Appearance” on the left side bar
- Under “Appearance” you will find sub menu “Customize” and “Menu”
- Click on “Customize”
- On the left section, you will find “Global”, “Site Identity”, “Menu”
- Click on “Site Identity”
- Next, click on “Select Site Icon”
- Upload Logo, click the “Select” button to crop and save
- You browser site logo will change to your custom logo
Change Page Logo
Change Page Logo
- Go to “Appearance” on the left side bar
- Under “Appearance” you will find sub menu “Customize” and “Menu”
- Click on “Customize”
- On the left section, you will find “Global”, “Site Identity”, “Menu”
- Click on “Site Identity”
- Next, click on “Site Title & Logo Settings”
- Under “General” option, click on “Select Logo”
- Upload Logo, click the “Select” button to crop and save
- Remove or change the “Site Title” field to the name of you business, Save


Set Menu
- Go to “Appearance” on the left side bar
- Under “Appearance” you will find sub menu “Customize” and “Menu”
- Click on Menu”
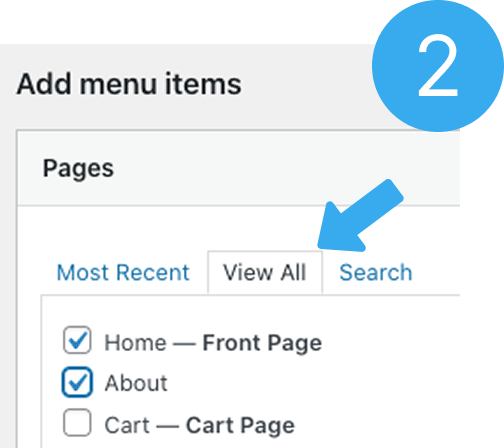
- Scroll down, under “Add menu Item (pages)”
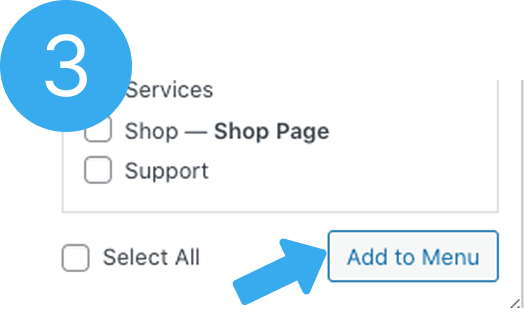
- Click “View All” and select or tick the menu items you only want to be visible (menu items visitors can see) e.g “Home”, “About us”
- Click “Add to menu”
- On the right section “Menu Structure” (drag up and down) adjust the menu items the way you want it to appear” e.g “Home”, About us”, “Contact”
- At the bottom, under “Menu Setting” tick on “Primary Menu” then Save.
- Go to your website, you will see the menu items exactly the way you prefer

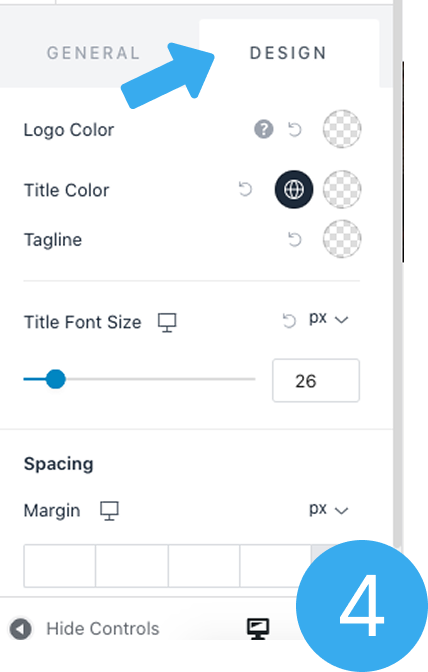
Set Design
- Go to “Appearance” on the left side bar
- Under “Appearance” you will find sub menu “Customize” and “Menus”
- Click on “Customize”
- On the left section you will find “Global”, “Site Identity”, “Menu”
- Click on “Site Identity”
- Next, click on “Site Title & Logo Settings”
- Next, Click on “Design” to adjust your designs


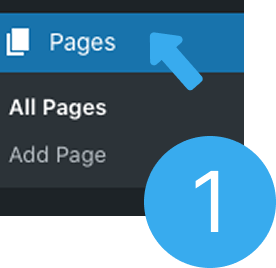
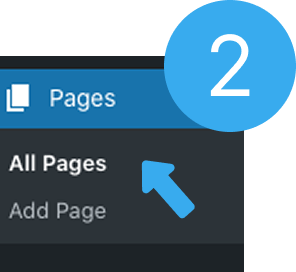
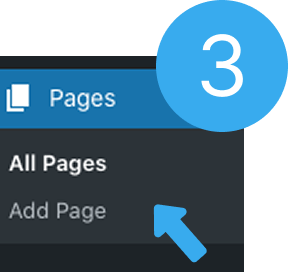
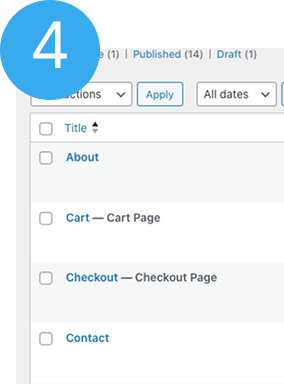
Add/Edit Pages
- On the left side bar you will find “Pages”
- Under “Pages” dropdown, you will find sub menu “All Pages” and “Add Page”
- Click on “All Pages” to see list of your pages
- Click on “Add Page” to add new page(s)
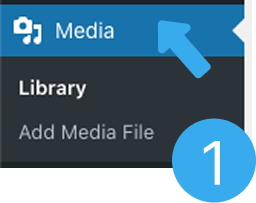
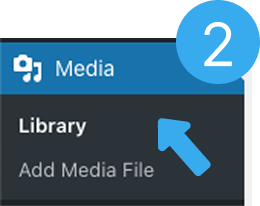
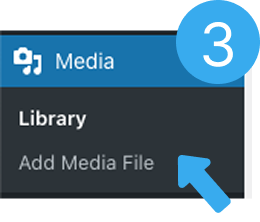
Add Files to Media
- On the left side bar you will find “Media”
- Under “Media” you will find sub menu “Library” and “Add Media File”
- Click on “Library” to see your uploaded images
- Click on “Add Media File” to upload and add new images
New Page
- On the “Top Nav” bar you will find “New”
- Click on “New” to add a new page
- Click on “Page” to create a new page

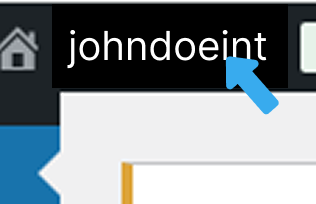
Visit Site
- At the “Top Nav” bar, hover on “Your site Name” e.g johndoeint
- You will see a dropdown sub menu “Visit Site”
- Click on “Visit Site” to access your website
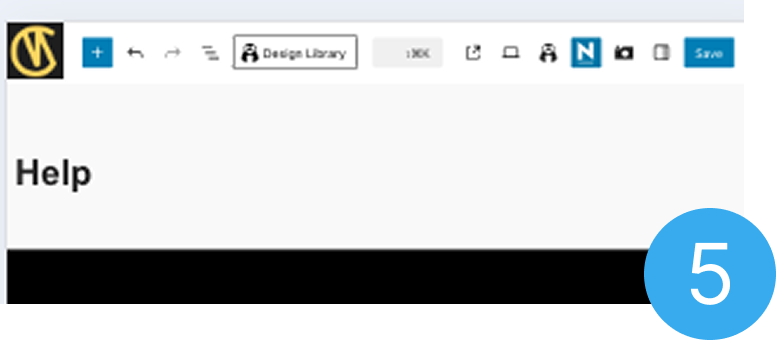
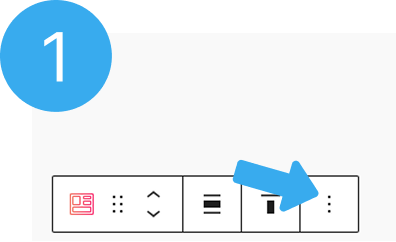
Add Space Before/After a Section
- To add space between sections, click on a “Sections“
- An edit tool bar will display
- On the tool bar, click on the vertical 3 dots “…” at the right end of the rectangle tool bar
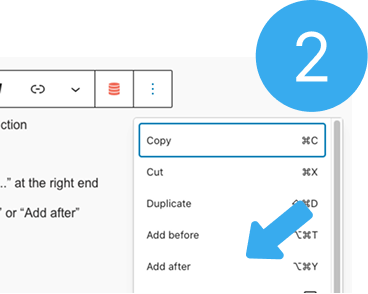
- A dropdown will appear, click on either “Add before” or “Add after” depending on where you need a space
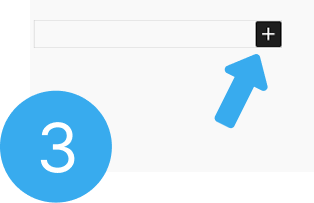
- A small rectangular tab will appear with a “+” icon at the right end
- Click on the small “+” icon
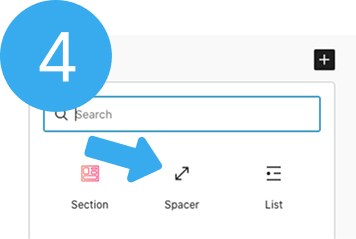
- A dropdown box with some options will appear and a search bar
- On the search bar, type “space” to find the “Space Icon” or find the “Space Icon” among the dropwdown options
- Click on the “Space Icon” with arrow
- A light gray space will be added before or after your section
Add Whatsapp Contact
- To add your whatsapp contact
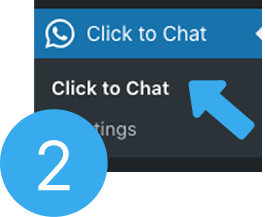
- On the left side bar, you will find “Click-to-Chat” menu
- Click on “Click to Chat”
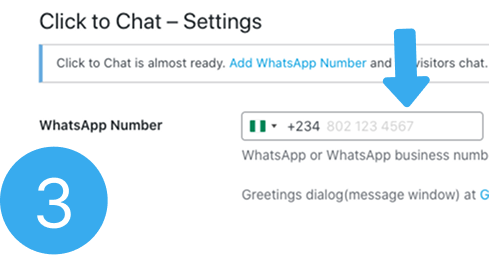
- Add your business “Whatsapp Number“
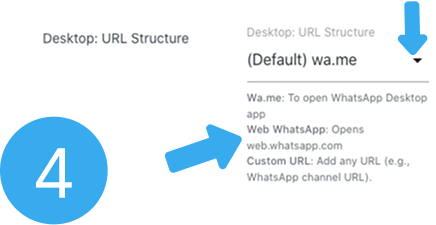
- Scroll down to “URL Structure”
- For “Desktop: URL Structure” dropdown
- Select “Web Whatsapp” to open whatsapp web
- For “Mobile URL Structure” dropdown
- Select “Whatsapp://” to open whatsapp app
- Scroll down and “Save”.


HEADING
Title
Address of your office
Phone contact
ROLES
Role 1
Role 1
Role 1
HEADING
Title
Address of you office
other location
phone contact
HEADING
Title
Specialty
Functions
Contact or link
CAREER
Career 1
Career 2
Career 3
Proudly powered by Checkmeout